I am an Overseas Citizen of India currently living in New Zealand. Last year, I planned to visit India and applied for a 180-day Indian e-visa. It is a convenient and quick way to travel to India. Here I want to share my experience with all of you on how I entered Indian on an e-visa, and became an OCI cardholder. Confused, well, not to be. I will tell you everything about how I plan to apply for an OCI card in India, including the OCI card timeline and the process for Indian e-visa extension. So, let's start with my entry journey in India.
Enter India with an e-Visa
The experience of going to your home country is exceptional. I applied for an e-visa 1 week before my planned journey. I enjoyed living there and wanted to extend my e-visa. However, I cannot do so as e-visas are non-convertible and non-extendable. Considering this, I applied again for a 180-day tourist visa before my current visa expired. It provided me with more time to connect with my Indian roots and explore the country.
Get to Know About the Limits of Temporary Visas
While I was staying in India, despite a generous stay, I learned about the limits of temporary visas and the restrictions that come with them. Also, I soon realized that no matter how much I wanted to stay in my home country, I could not extend my visa after it expired and would have to return. Well, I do not want to cut short my connection with India due to visa expiry and paperwork.
Decided to Apply for an OCI Card in India
When thinking of another option to stay longer in India, I learned about the OCI (Overseas Citizen of India) card. Although I heard about the card from my relatives and friends, I do not know what it was. Well, for me, it was like a jackpot, as it allows visa-free travel to India with no restrictions on days. Also, it offers several privileges similar to those of Indian citizens. For me, it was a perfect solution for my long-term stay in the country. So, I decided to apply for an OCI card in India.
However, to do so, I need to meet the eligibility criteria, provide the requested documents, and follow a lengthy procedure. Handling this alone without a proper understanding of the process was both challenging and stressful for me. To ease this down, I sought help from Visament, an expert service provider that assists foreign Indian citizens with their immigration and visa needs.
This is how, after entering India on an e-visa, I came to apply for an OCI card. Moving further, let's know how Visament simplified my OCI card application in India.
Get Expert Help for Your OCI Card!
Have questions? Our experts guide you through every step of the OCI process – no confusion, no delays.
Consult an Expert Today How Visament Simplifies My OCI Card Application
As I mentioned above, I did not know about the OCI card and always heard about it from my relatives and friends. So, applying for the OCI card alone without a proper understanding was quite a challenging thing for me. Although I gathered all the information about the OCI card timeline with Indian e-visa extension online, I did not take the risk of facing the application rejection. This is how I came across Visament while searching for a reliable service provider to help with my OCI application. Connecting with them was a good decision for me, as the process was hectic, and surely I might have given up or faced rejection if I had handled it alone. Here is how they helped in applying for an OCI card:
- Document Checklist: Once I made the payment, the experts mailed me the list of documents I required for my OCI card application.
- Document Submission: According to the document checklist, I gathered all the required documents needed to apply for OCI on an X1 visa in India. Then I scan and upload them to the Visament site for expert verification.
- File Preparation and Appointment: Once the experts received my documents, they began my OCI application and completed the form on my behalf. Also, at the Foreigners Regional Registration Office (FRRO), I booked an appointment for biometrics and the physical submission of the documents.
- Application Package: They mailed me the completed OCI application form, the required documents, and my FRRO registration for OCI application submission, along with the appointment letter. Along with it, they asked me to take a printout, as on the appointment day, I had to carry all these things with me.
- OCI Receipt: Once I completed my OCI appointment, the experts regularly tracked my OCI application and provided updates via email and WhatsApp notifications. Also ensured compliance with visa regulations while waiting for my OCI card processing time in India.
This is how my OCI journey in India gets simplified with Visament. The guidance and assistance of the experts took my stress and confusion away and made my OCI application process easy. Also, while my OCI card was in process, the experts helped me check my current visa status and stay compliant with Indian immigration laws, avoiding overstaying. They even helped me navigate the conversion process of a tourist visa to an X visa and follow the FRRO rules.
Want to know about the OCI card application timeline in India? Read the following section and get your answers.
OCI Card Timeline in India: Step-by-Step Guide
After reading the application instructions for an OCI card from India and connecting with Visament, I applied for both my e-visa extension and OCI card on day 150. It was 1 month before my 180-day tourist visa expired. Moving further, let's know the OCI card timeline with the Indian e-visa extension:
180-Day Indian E-Visa Extension Timeline
When I applied for my e-visa extension, I preferred a metro state like Delhi. Well, there are two key reasons for it. The higher authorities are found. Secondly, the process is much faster than in other states. To provide you with an idea, here I am sharing my Indian e-visa extension timeline from Delhi and another state, i.e., Kolkata:
Case 1:
| Step |
Description |
Delhi |
Kolkata |
| Day 1 |
Apply for another 180-day e-tourist visa before the expiry of the current visa. |
From Delhi |
You can do the same thing in Kolkata |
| Day 120-135 |
After knowing about the OCI card, I started gathering the required documents for the visa extension and OCI card. |
Start gathering digital and original documents |
Same process |
| Day 150 |
Using the FRRO portal, applied for e-visa extension |
Upload the required documents, such as a passport, a visa, a passport-size photo, and the visa extension reason |
Submit the same document on the FRRO website online in Kolkata |
| Day 151-165 |
Waited for FRRO to process my visa application |
I waited for my visa approval or a follow-up via email or the FRRO portal. |
You can do the same in Kolkata |
| Day 166-180 |
My application for an Indian e-visa extension got approved. |
Received the digital extension letter. |
Will get you an extension letter via email or on the FRRO portal |
Case 2:
| Date |
Status / Action |
| 24 Feb 2026 |
Applicant submits request for Indian e-Visa extension through FRRO portal
|
| 26 Feb 2026 |
OCI application completed online and documents couriered to ICAC New York Centre
|
| 28 Feb 2026 |
Documents delivered at ICAC New York Centre
|
| 2 Mar 2026 |
Application under process at ICAC (document scrutiny and data entry)
|
| 4 Mar 2026 |
Application verified and forwarded to Consulate General of India, New York
|
| 6 Mar 2026 |
OCI acknowledgment generated on the Government OCI portal
|
| 12 Mar 2026 |
e-Visa extension approved by FRRO (processed separately from OCI)
|
| 25 Mar 2026 |
OCI card dispatched from India to Consulate General of India, New York
|
| 28 Mar 2026 |
OCI card received at ICAC New York Centre
|
| 29 Mar 2026 |
ICAC confirms application reviewed and ready for dispatch
|
| 31 Mar 2026 |
OCI card delivered to applicant
|
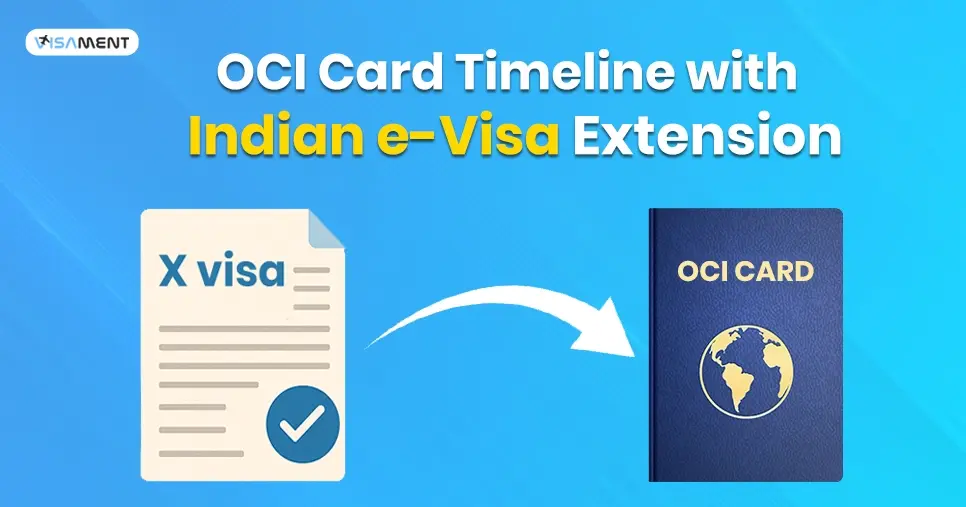
OCI Card Timeline with Indian E-visa Extension
For the OCI card, by day 150, I applied for my e-visa extension so that my visa would not expire before my OCI Application approval. Here is what my OCI card timeline looks like:
| Step |
Description |
Delhi |
Kolkata |
| Day 90-135 |
I check whether I am eligible to apply for the OCI card. For this, I gathered the requested documents, such as a passport, a surrender certificate, or more. |
Gather the required documents essential for the process |
Collect all the necessary documents vital for the OCI application |
| By Day 150 |
Using the OCI portal, fill out the OCI application form |
Visament on my behalf, fill out my OCI application and upload the required documents on the site |
You can do the process alone or, like me, can take help from a reliable immigration provider |
| Day 151-160 |
Schedule an appointment with the FRRO for biometrics and the physical submission of the application. |
At FRRO Delhi |
At FRRO Kolkata |
| Day 161-180+ |
After the appointment, the government processing begins, i.e., OCI application review by FRRO and MHA officials |
Took around 6-8 weeks post-application submission |
8-10 weeks after the submission of the application |
| Day 240-260 |
Received my OCI card within the given processing time at the mentioned address. |
I chose the courier option to receive the OCI card, and it got delivered to my Indian address. |
You can choose either courier or pickup to receive your OCI card. |
This is what my OCI card timeline with Indian e-visa extension looked like. With this, I use it for both my visa extension and OCI card applications in India, 1 month before my visa expiry. You can also apply for your OCI card in India when you have an X1 Visa Extension. This card allows you to live in India indefinitely without any visa requirements or stay restrictions. Also, when applying, ensure all your documents are legible, clear, and complete, as any mistake or error can lead to OCI application rejection.

Also Want to Know About
Online OCI Services in UK Check Now!
Final Thoughts
Now that I have an OCI card, I can travel freely in India without any stay restrictions. Apart from this, I can also buy property in India and enjoy several benefits like a local citizen of the country. This was my experience with the OCI card timeline with the Indian e-visa extension. If you are also an overseas citizen of India and want to make your stay in the country permanent without any restrictions, applying for an OCI card is the best option. And to guide you, Visament is always there to assist you. Also, I could not handle the OCI application process alone without the support of Visament. For your OCI Application & India X1 visa, consider them for assistance and get your OCI card without any issues.


_1745908515.webp)