Related Blogs

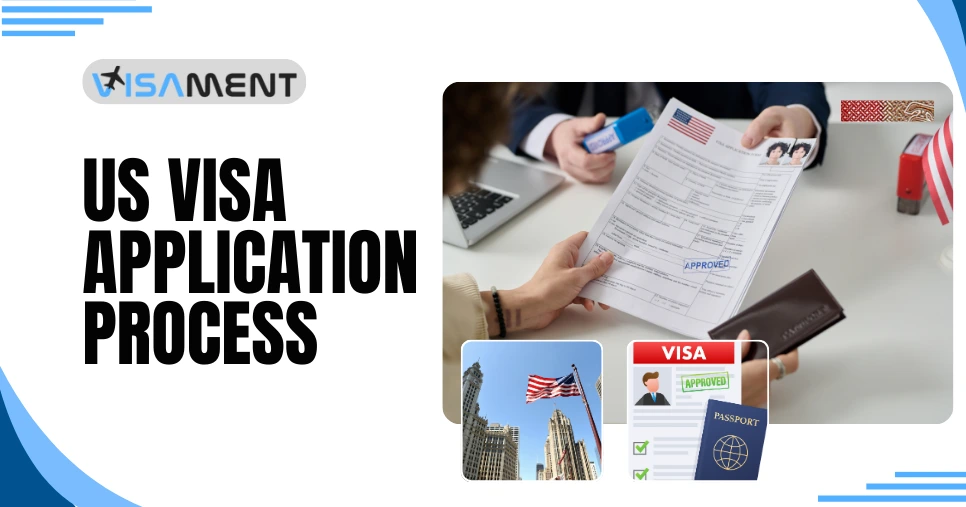
Applying for a U.S. visa involves more than completing an online form. You need to choose the correct visa category, follow the applicable application and fee instructions, prepare supporting documents, and attend an interview if required. This guide explains the US visa application process step by step, with practical guidance for applicants applying from India and links to official resources for checking current requirements.
The U.S. visa application process generally involves selecting the appropriate visa category, completing the required application, paying applicable fees, following appointment instructions, submitting supporting evidence, and completing any required interview or additional processing.
The exact procedure depends on whether you are travelling temporarily or applying to immigrate to the United States.
For example, a person visiting family or attending business meetings may need a visitor visa, while a student may require a student visa. Someone applying to immigrate follows a different process that may involve an approved petition before the immigrant visa application can proceed.
If you are planning tourism, visiting relatives, or eligible business activities, consult the U.S. visitor visa application guide for category-specific information.
The first step is to identify the visa category that matches your intended activities in the United States. Choosing the wrong category can lead to unnecessary expenses, application errors, or delays.
Common examples include:
| Purpose of travel | Possible visa category |
|---|---|
| Tourism, visiting family, or eligible business visits | B-1/B-2 visitor visa |
| Academic study at an eligible institution | F-1 student visa |
| Vocational study at an eligible institution | M-1 student visa |
| Participation in an approved exchange programme | J-1 exchange visitor visa |
| Certain temporary employment | Appropriate employment-based visa |
| Permanent immigration | Applicable immigrant visa category |
These are examples, not a complete list. Some activities require a specific visa category or additional authorization.
Review the U.S. Department of State's official visa information before starting your application. If you are unsure which category applies, confirm the requirements through the relevant official guidance rather than relying solely on a general online checklist.
The application form depends on the visa pathway you are following.
For non-immigrant visas: Most applicants, including those applying for visitor, student, and many temporary employment visas, must complete Form DS-160, the Online Nonimmigrant Visa Application.
You can access the official DS-160 application and instructions.
Before starting, keep your passport and relevant travel, education, employment, and previous travel information available. Student and exchange visitor applicants may also need details from their Form I-20 or DS-2019, as applicable.
Complete the form accurately and review your answers before submitting it. After electronic submission, save or print the DS-160 confirmation page containing the barcode. You generally do not need to print the entire application for the interview.
For immigrant visas: Applicants in the applicable immigrant visa process use Form DS-260, the Online Immigrant Visa Application. The process may require an approved petition and further instructions before the applicant completes the form.
DS-160 and DS-260 are not interchangeable. Follow the instructions for your specific visa category and case.
After completing the required application, follow the official instructions for paying the applicable fee.
The amount and payment procedure depend on the visa category and where you apply. Certain categories may have additional fees, so do not assume that every applicant pays the same total.
For applicants applying in India, use the current instructions provided by the relevant U.S. embassy or consulate and its designated appointment system. Check the accepted payment methods, payment reference requirements, and any instructions about using the receipt when scheduling an appointment.
The standard nonimmigrant visa application processing fee is generally non-refundable, even if the application is refused. Verify the current amount and applicable exceptions on the official U.S. visa fee schedule.
Avoid paying through unofficial intermediaries that promise guaranteed appointments or approval.
Once you have completed the required application and followed the applicable payment instructions, schedule your appointment through the official process for your application location.
For many non-immigrant visa applicants, this involves:
The exact sequence can vary by location and visa category. Do not assume that submitting DS-160 automatically schedules an interview.
Applicants in India should check the official instructions for the consular post handling their application. If you are looking for appointment availability or want to understand how to check for an earlier slot, see Visament's U.S. visa appointment guidance for India.
The documents required for a U.S. visa depend on the category, your circumstances, and the instructions issued for your appointment.
For many non-immigrant visa applications, you should be prepared to provide or carry the following, as applicable:
Additional evidence may be necessary. For example, students may need their Form I-20, while exchange visitors may need Form DS-2019. Applicants travelling for business, tourism, or family visits should prepare relevant supporting information if requested.
A general checklist cannot replace the instructions for your particular visa category. Review the documents required for a U.S. visa application for more detailed preparation guidance.
Remember that submitting more documents does not automatically improve the likelihood of approval. Documents should be accurate, relevant, and consistent with the information in your application.
Many U.S. visa applicants must attend an in-person interview with a consular officer. Some applicants may qualify for an interview waiver under the applicable rules, but eligibility and procedures can change.
Follow the official instructions to determine whether you need an interview, must provide biometrics, or must complete another appointment requirement.
If an interview is required:
For example, a visitor travelling to attend a family event should be able to explain the purpose of the trip and provide relevant details if asked. There is no single answer or document that guarantees approval.
A consular officer evaluates the application under the applicable immigration and visa rules. Do not rely on unofficial advice claiming that particular interview answers guarantee a successful outcome.
After the interview or other required processing, your application may have different outcomes.
Visa issued: Follow the official passport-return or collection instructions. Once you receive your passport, check the visa details for errors before travelling.
Application refused: The consular officer will communicate the applicable outcome and, where relevant, the legal basis or further instructions. If you are asked to submit additional information, follow the instructions carefully.
Administrative processing: Some cases require additional review or documentation. The time required varies according to the circumstances of the individual case. Check the official instructions rather than assuming that the application will be completed within a fixed period.
A U.S. visa allows its holder to travel to a U.S. port of entry and request admission. It does not guarantee entry into the country; the relevant U.S. border authorities determine whether the traveller may be admitted.

Some applicants may qualify for an interview waiver under the rules in force at the time of application. Eligibility depends on the relevant category and official instructions. Confirm the current requirements with the U.S. embassy or consulate where you intend to apply.
The standard nonimmigrant visa application processing fee is generally non-refundable, including when an application is refused. Check the official fee guidance for the applicable category and any relevant exceptions.
You should follow the official instructions for your visa category and avoid making inflexible or non-refundable travel commitments before your visa is issued. An application or appointment confirmation does not guarantee approval.
The consular officer may request additional documents or explain that further review is required. Processing times vary by case, so follow the instructions provided by the consular section handling your application.
Vipul Jain is the Co-Founder of Visament, a trusted platform dedicated to simplifying Indian immigration, consular, and NRI services for applicants across the globe. With extensive expertise in OCI cards, Indian passport services, visa assistance, apostille and document legalization,... See Full Bio

Talk to our documentation experts for free guidance on your application.
How to Apply for a US Visitor Visa (B1/B2 Visa): Step-by-Step Guide
US Visa Interview Questions for Parents: B1/B2 Visitor Visa Questions & Answers
Visa Guide 2026: Types, Requirements & Application Process
Understanding US Visa Benefits: Types, Eligibility & Key Advantages
How to Get a US Visa Appointment Faster in India: 2026 Guide


When you visit a website, it may store data about you using cookies and similar technologies. Cookies can be important for the basic operations of the website and for other purposes. You get the option of deactivating certain types of cookies, even so, doing that may affect your experience on the website.
It is required to permit the basic functionality of the website. You may not disable necessary cookies.
Used to provide advertising that matches you and your interests. May also be used to restrict the number of times you see an advertisement and estimate the effectiveness of an advertising campaign. The advertising networks place them after obtaining the operator's permission.
Permits the website to recognize the choices you make (like your username, language, or the region you are in). Also provides more personalized and enhanced features.
Aid the website operator to determine how the website performs, how visitors interact with the site, and whether there are any technical issues.