Related Blogs

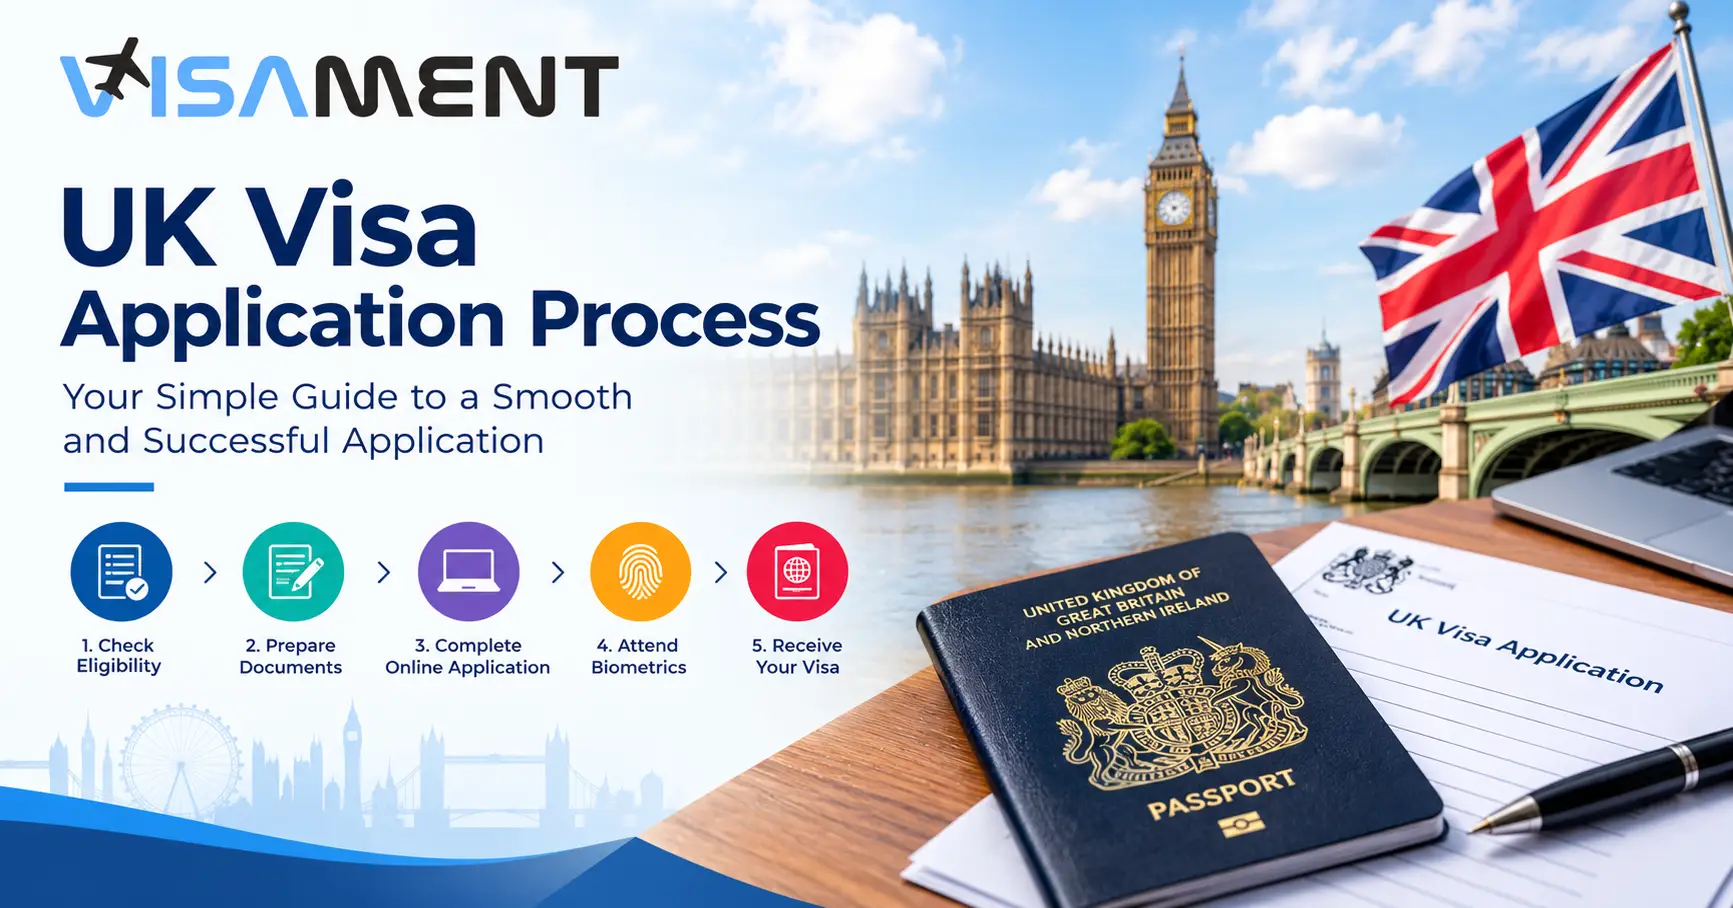
Applying for a UK visa can feel complicated when you are unsure which visa you need, what documents to prepare, or how to complete the application correctly. The UK visa application process depends on your nationality, reason for travel, and whether you are applying from inside or outside the United Kingdom. This guide explains the main application steps, from checking your requirements and completing the relevant form to submitting evidence and receiving a decision, with links to official government guidance.
Your nationality and reason for travelling determine whether you need a UK visa or another form of travel permission. Some travellers may be eligible to visit without a visa but still need an ETA, depending on the applicable rules.
Start with the official GOV.UK visa checker. Enter the requested information to identify the relevant requirements for your circumstances.
Before proceeding, establish:
Do not assume that visa-free entry means you can work or undertake every activity while in the UK. Entry requirements and permitted activities depend on the applicable rules.
Selecting the correct visa route is essential because each category has its own eligibility criteria, application instructions, and supporting evidence requirements.
|
Visa category |
General purpose |
|---|---|
|
Standard Visitor |
Eligible short visits, including tourism, visiting family, and certain business activities |
|
Student visa |
Eligible study at an approved educational institution |
|
Skilled Worker visa |
Eligible employment with the required sponsorship and other route conditions |
|
Family visa |
Joining an eligible family member under the relevant immigration route |
|
Transit visa |
Certain journeys through the UK to another destination |
This table provides a general overview, not a determination of eligibility. Some travellers may need a different route depending on their circumstances.
If you are visiting the UK for a holiday, business meeting, or family visit, consult Visament's UK Visitor Visa guide for more specific information about visitor requirements.
For work, study, or family applications, use the relevant category's official GOV.UK guidance. Do not start a visitor application if your intended activities require a different immigration route.
Once you have identified the correct route, follow its official application instructions. Many visa applications can be started online, but the procedure varies by category and application location.
Use this process:
If you are applying on behalf of another person, make sure you have the necessary permission and provide the information requested for that applicant.
Check spelling, passport details, dates, and financial information carefully. Inconsistent information can raise questions about an application and may lead to requests for further evidence or an adverse decision.
The form is only one part of the process. You must also follow any instructions concerning evidence submission and identity verification.
The documents required for a UK visa depend on the route, your circumstances, and the evidence specified in the official application guidance. There is no single checklist that applies to every applicant.
Depending on the visa category, you may need to prepare:
Not every applicant needs every document listed above. Use the official checklist for your specific route to determine what is required.
Check that:
Providing more documents does not automatically make an application stronger. The priority is to submit relevant, accurate, and credible evidence that addresses the requirements of the particular route.
Application fees depend on the visa category and the type of application. Additional charges may apply for optional services, depending on availability and the application location.
Check the current fee on the official GOV.UK page for your specific visa before paying. Do not rely on an older article or an amount quoted for a different category.
Follow the application instructions to complete payment and arrange any required appointment. The process may include selecting a visa application centre, choosing an available appointment, and following instructions for submitting supporting documents.
Do all applicants need an appointment? No single procedure applies to everyone. Some applicants may need to attend a visa application centre, while others may be instructed to verify their identity through an approved digital process.
Read the instructions displayed during your application carefully. If optional appointment or faster-decision services are offered, check their availability, charges, and conditions before selecting them.
After completing the application, follow the instructions for identity verification and supporting-document submission.
Depending on your route and circumstances, you may be asked to:
An in-person interview is not a universal requirement for all UK visa applications. Additional checks or requests for information may occur where applicable.
Keep copies of your application confirmation, payment confirmation, appointment details, and submitted documents. Follow any instructions about retaining or presenting your passport or travel document.
If you are applying from the United States, follow the instructions for the specific visa route and the designated application service available to you. Your place of application can affect the practical arrangements, but it does not replace the eligibility rules for your visa category.
UK visa processing times vary according to the application category, location, and individual circumstances. The time required may also differ when an application needs additional checks or when a faster-decision service is available.
Use the official GOV.UK visa processing times guidance for applications outside the UK if you are applying from abroad. Applicants applying inside the UK should consult the corresponding official guidance for in-country applications.
UK Visas and Immigration (UKVI) begins processing an application according to the applicable procedure, such as after identity verification and document submission through an approved digital process or after the required visa application centre appointment.
A published processing time is an estimate, not a guarantee of a decision by a particular date.
While waiting:
You can also read a guide to UK visa tracking for further information about following an application.
If your application is approved, follow the decision notice and any instructions concerning your e-Visa, travel document, and immigration permission. If it is refused, read the decision notice carefully to understand the reasons and any available options. The appropriate next step depends on the circumstances and the rules applicable to your route.
Small errors can complicate the application process. Before submitting, check for these common problems:
A careful review before submission can help you identify avoidable errors, although it cannot guarantee approval or a particular processing time.
Stop worrying about delays. Apply now and get Indian Counsellor Services.
Chat NowThe UK visa application process starts with identifying the correct route and checking the official requirements. From there, complete the appropriate application, prepare accurate supporting evidence, follow the payment and identity-verification instructions, and monitor your application until a decision is issued.
For the most reliable information, use GOV.UK as your primary source for current requirements. If you need help understanding document preparation or the application steps, explore Visament's available assistance services and confirm that the service covers your particular needs. The final application requirements and decision remain subject to the relevant UK authorities.
The process for applying for a UK visa is: first, you need to visit the official website of the UK gov. Then select your visa type and fill in all the details, complete the visa application form, and pay the fees to secure your UK visa application. Then submit all the necessary documents and biometrics and wait for the processing of your visa application.
To get your UK visa, you need to wait for around 3-4 weeks. This is the normal processing time for the UK visa application process.
The documents that you need to fill out the UK visa application form are: Scanned passport copies, Photograph, Cover letter, Proof of address, bank statement, proof of funds, Hotel reservation, Travel itinerary, and additional documents if a minor, married, student, or divorced.
To submit your visa application, you need to book an appointment through the visament, where our team will book an appointment with the nearby Visa centre on your behalf. Then you need to go with your print visa application form with all the documents to submit your application.
Wrong visa category, insufficient proof of funds, incomplete application form, incomplete travel itinerary, and late application submission are the reasons for the UK visa refusal.
Vipul Jain is the Co-Founder of Visament, a trusted platform dedicated to simplifying Indian immigration, consular, and NRI services for applicants across the globe. With extensive expertise in OCI cards, Indian passport services, visa assistance, apostille and document legalization,... See Full Bio

Talk to our documentation experts for free guidance on your application.


When you visit a website, it may store data about you using cookies and similar technologies. Cookies can be important for the basic operations of the website and for other purposes. You get the option of deactivating certain types of cookies, even so, doing that may affect your experience on the website.
It is required to permit the basic functionality of the website. You may not disable necessary cookies.
Used to provide advertising that matches you and your interests. May also be used to restrict the number of times you see an advertisement and estimate the effectiveness of an advertising campaign. The advertising networks place them after obtaining the operator's permission.
Permits the website to recognize the choices you make (like your username, language, or the region you are in). Also provides more personalized and enhanced features.
Aid the website operator to determine how the website performs, how visitors interact with the site, and whether there are any technical issues.